…something you can’t do if you’re painting onto a pre-stretched canvas. You can, however, easily crop work that is on paper or loose canvas sheet and then frame or mount that cropped work so it can be hung. Doing this makes cropping part of the finishing process of the work of art.
Ofcourse you can always digitally crop images of your work and make prints, and/or post those cropped images on social media which is one of the wonderful things about this new digital platform on which we hang our art work.
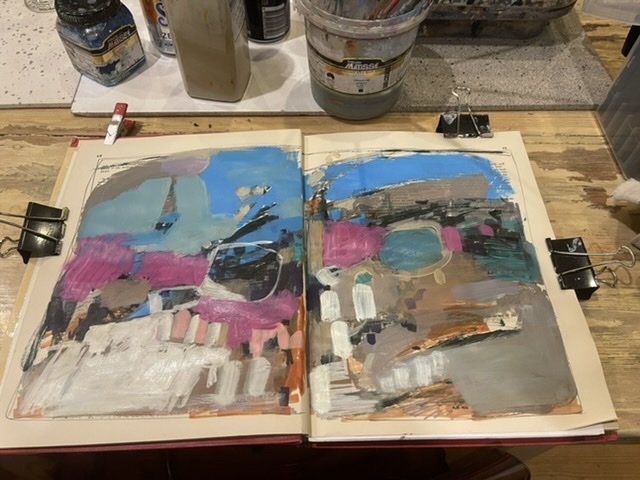
For example, below is my latest collection of abstract paintings, these are done with mixed media in my sketchbook. The theme for these is Vermilion.
Exhibit 1

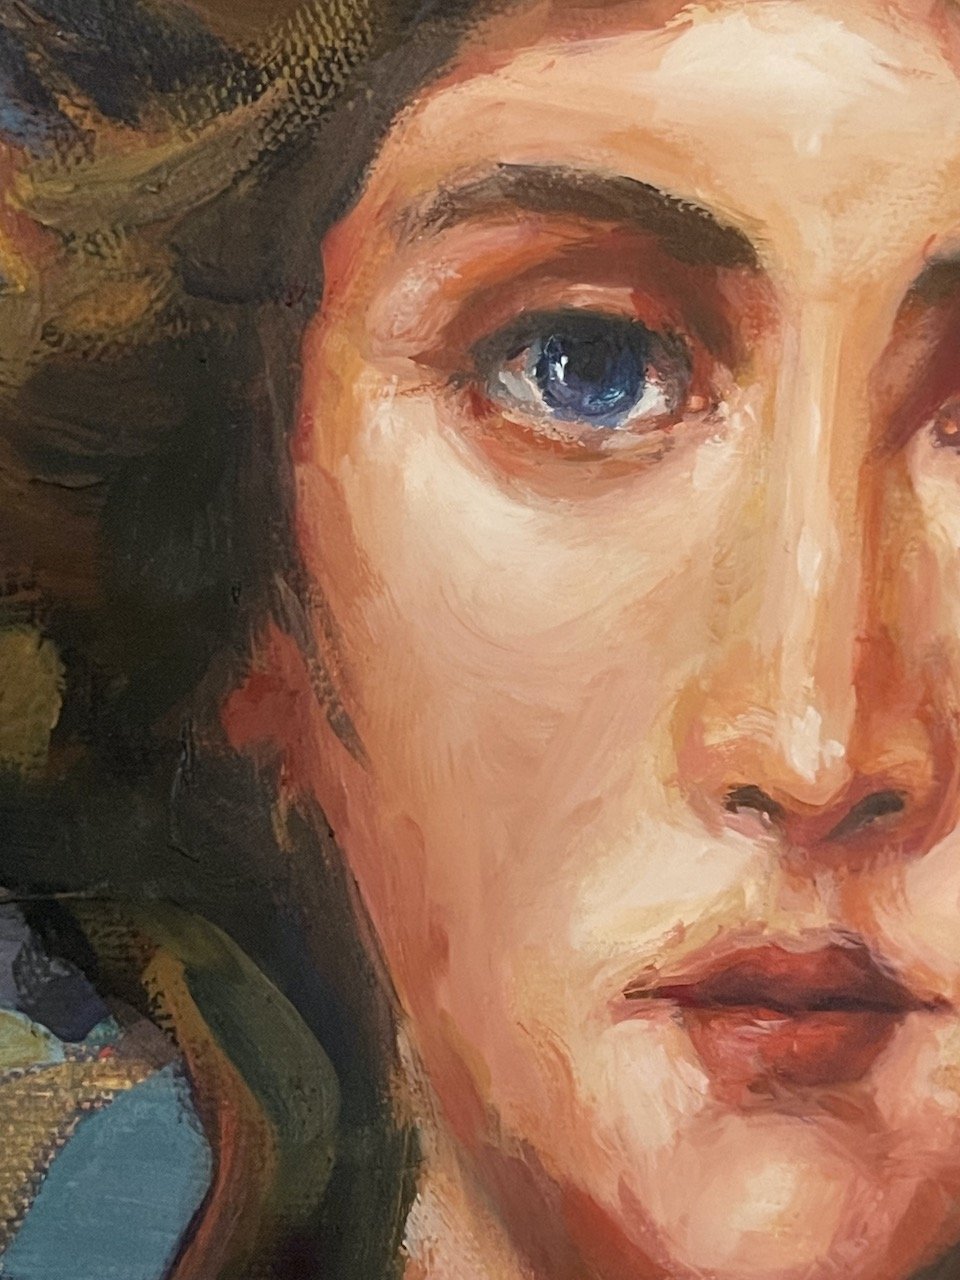
Study in Vermilion
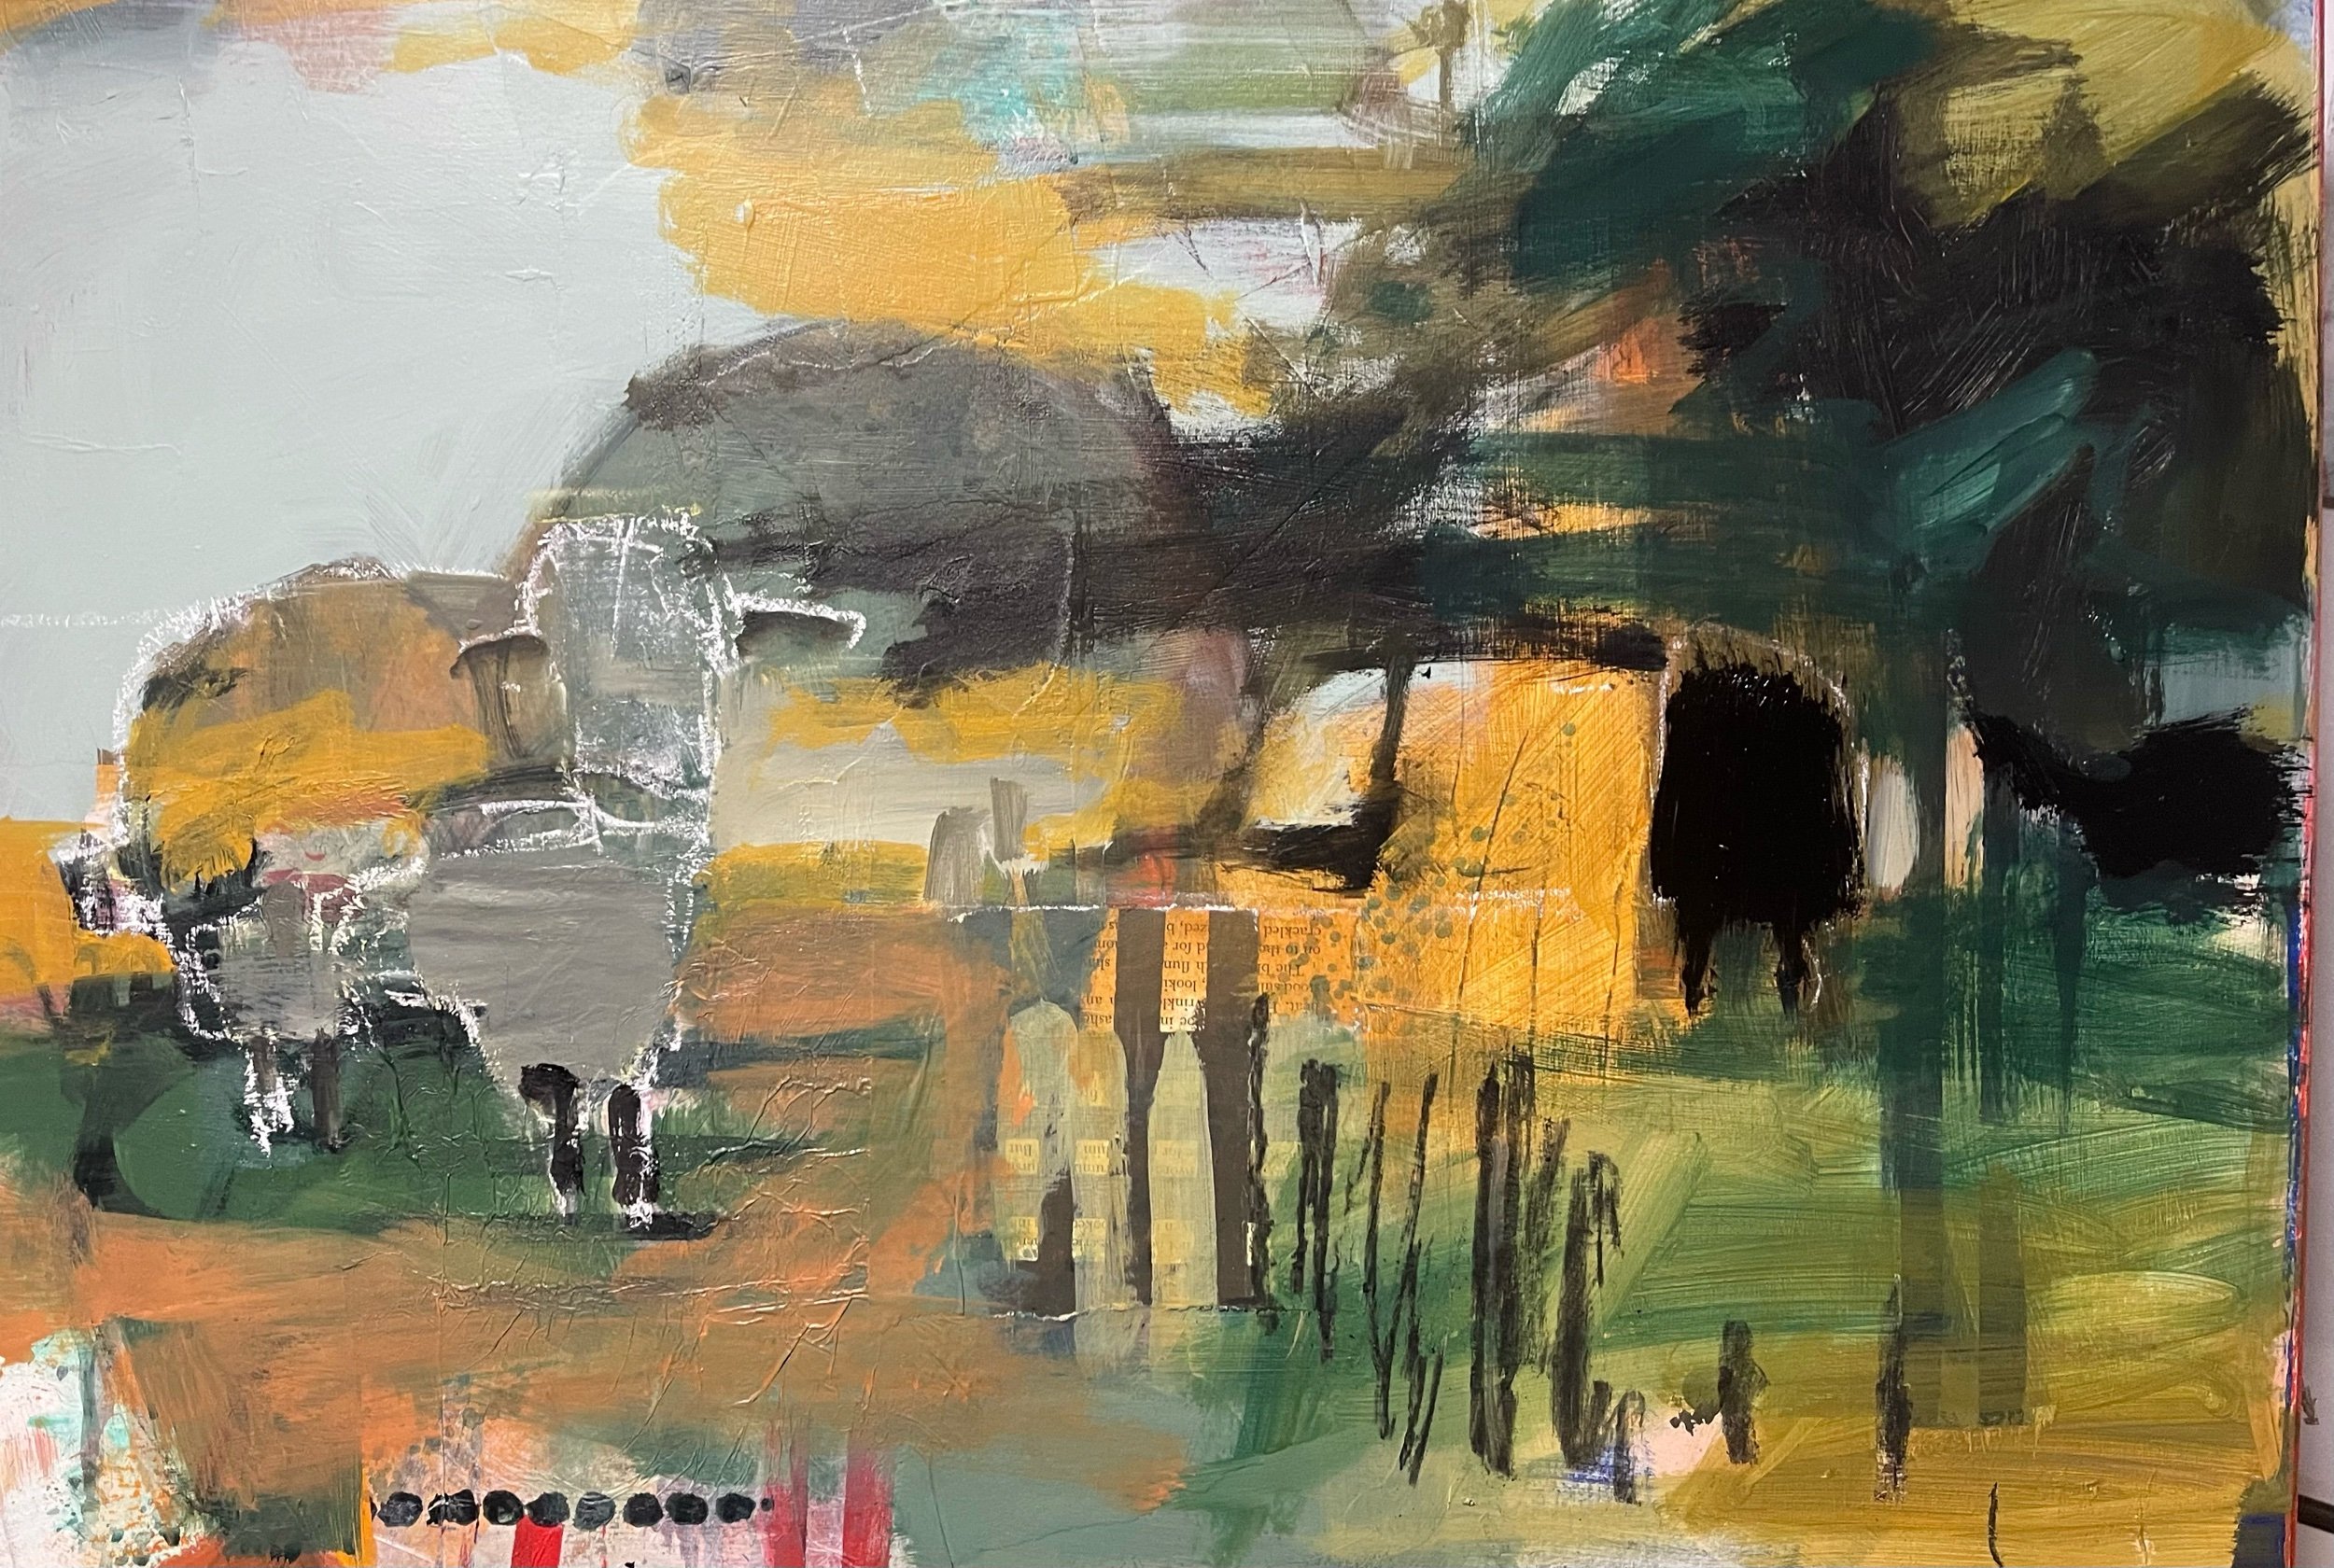
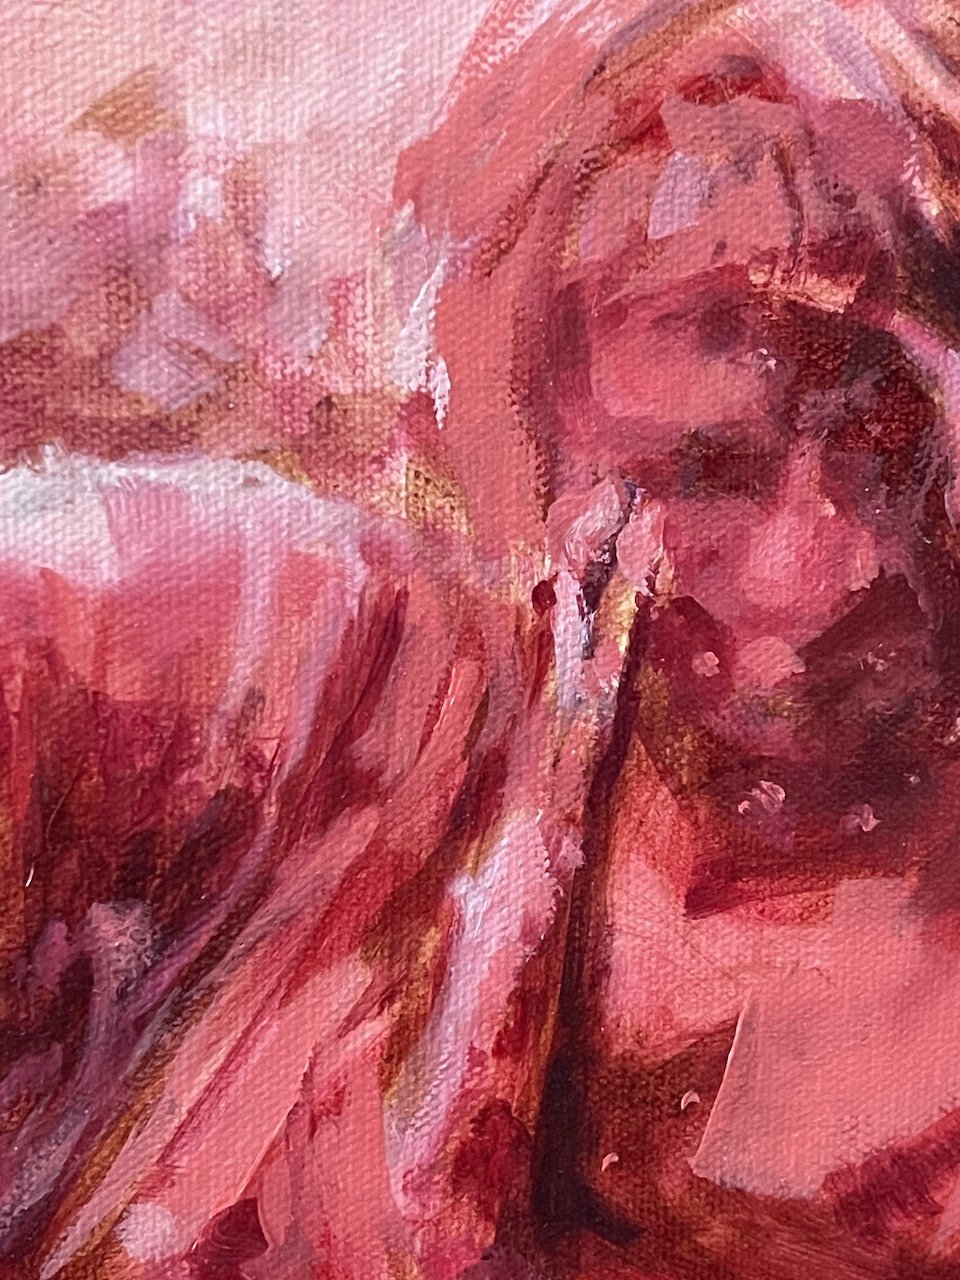
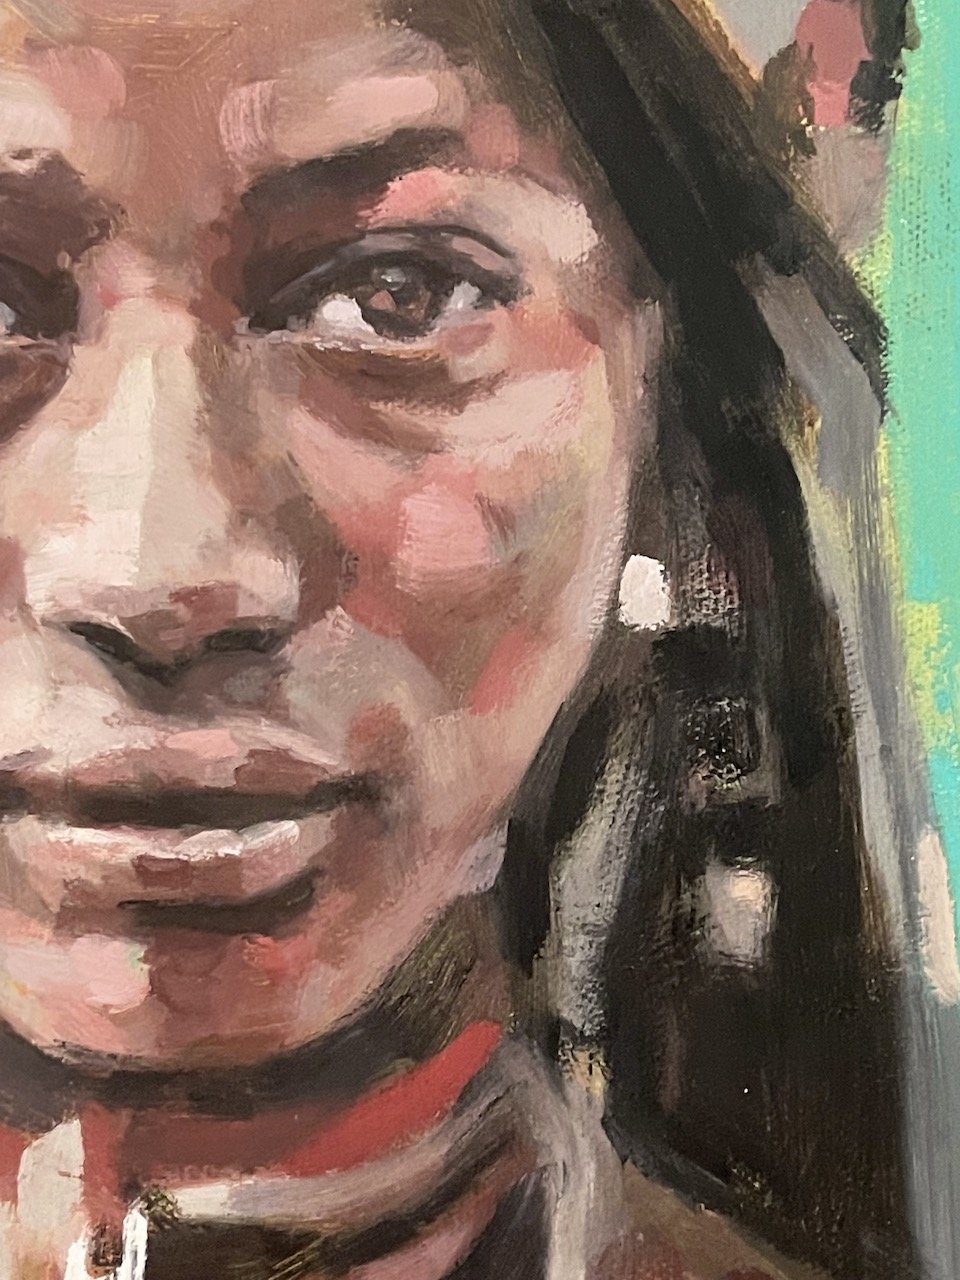
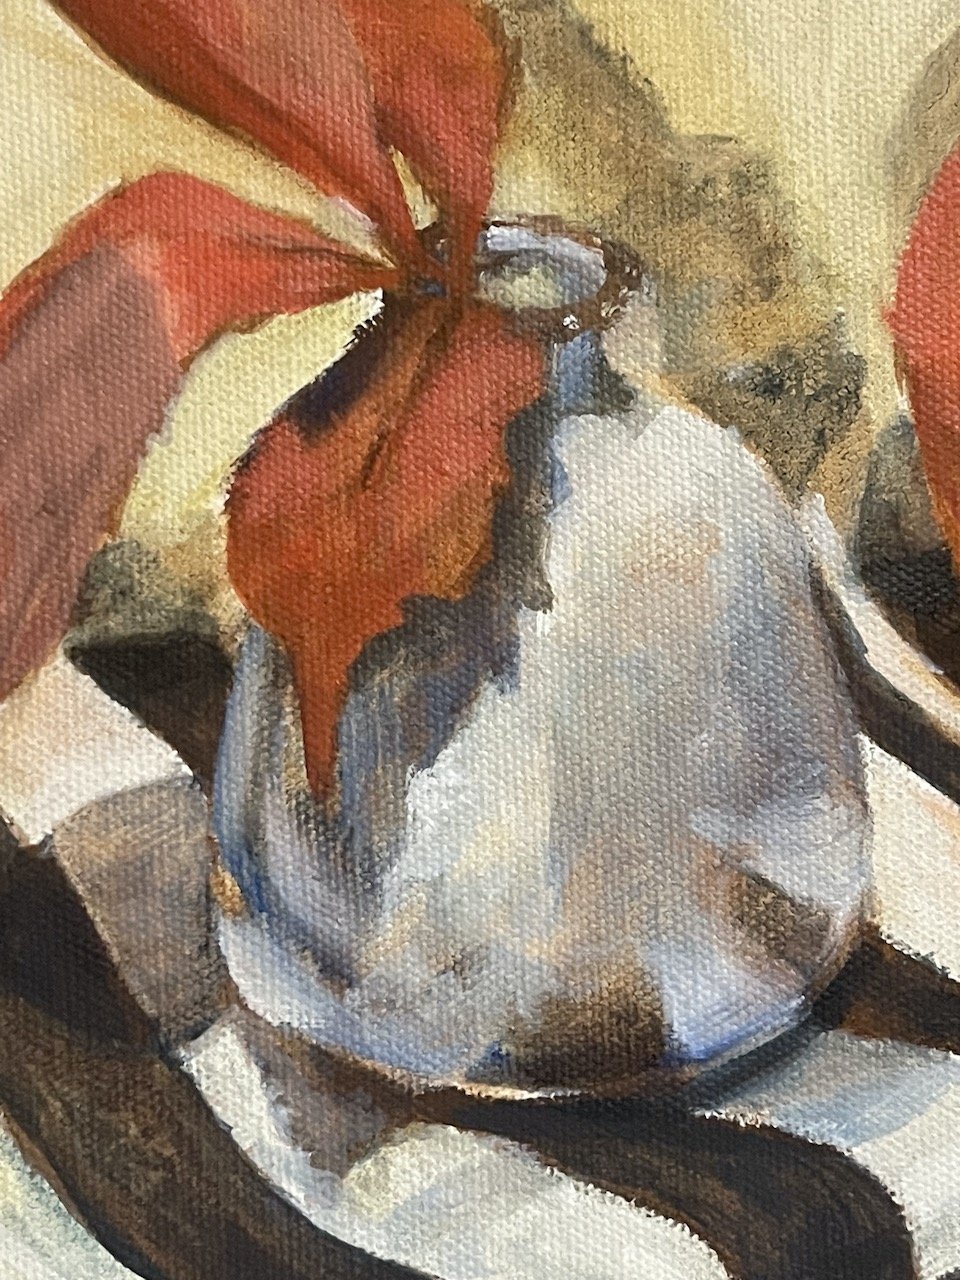
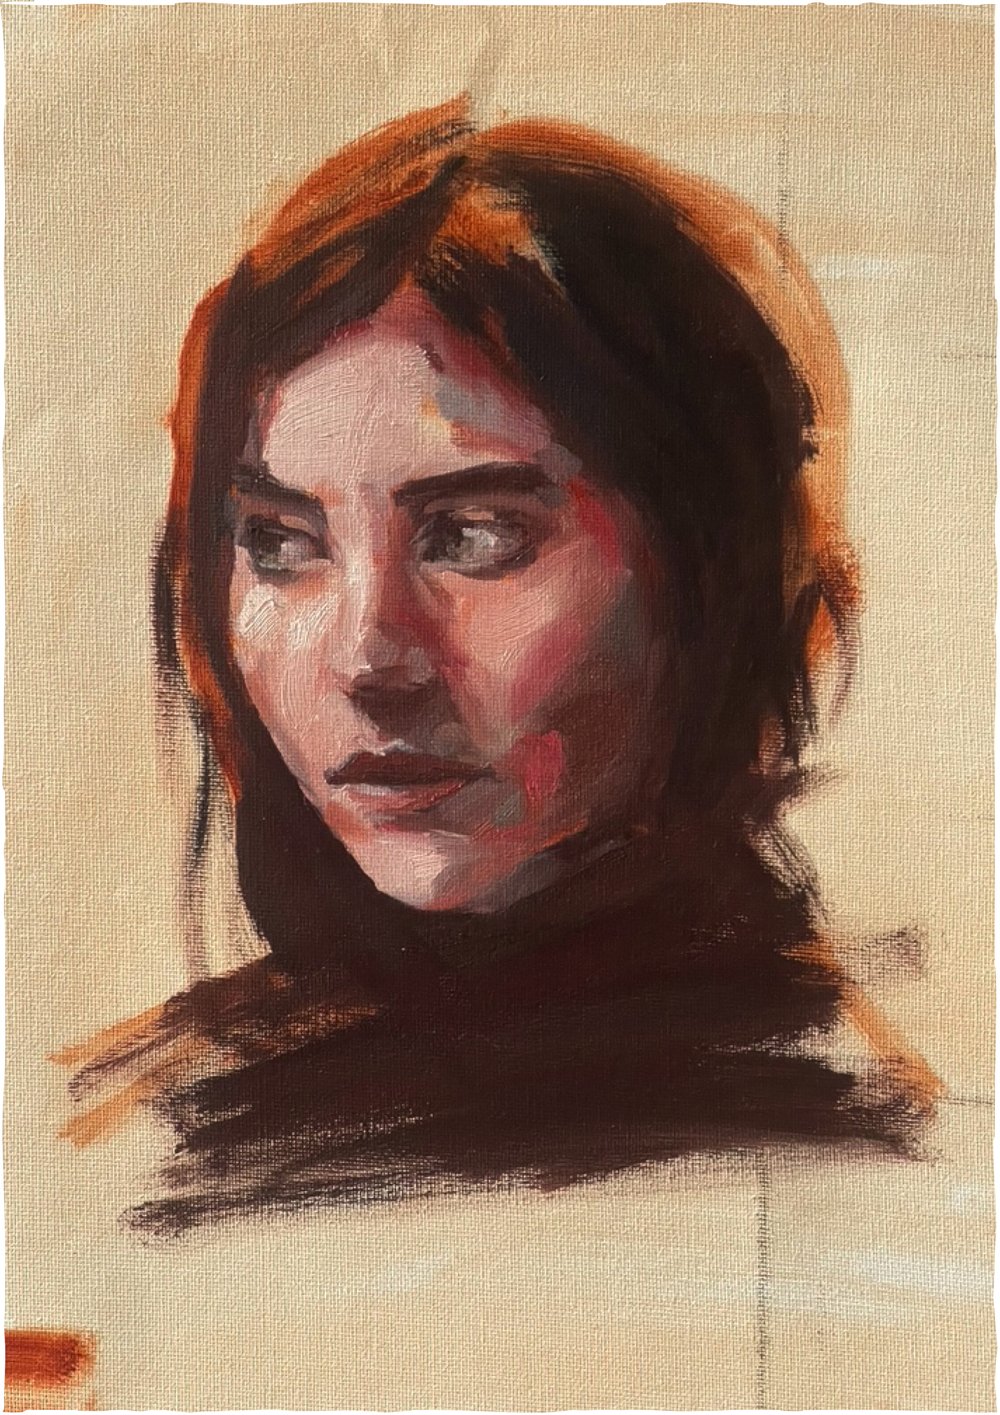
My Vemillion collection is all cropped from the one page in my sketchbook - shown below.

Abstract 1
Study in Vermilion
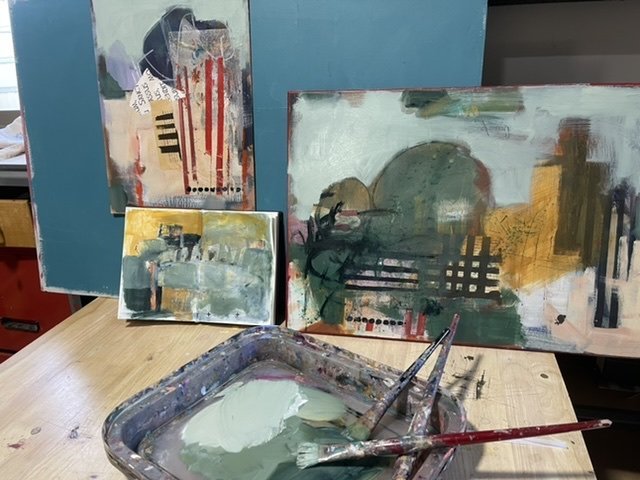
I can’t physically hang this collection in it’s original form though because I’ve doubled up on some of the areas for the different paintings, but I could re-paint them, even in a larger format if I wanted to.
I’ve been playing with this concept, in-between my other work, all week and it’s been alot of fun.
exhibit 2


Abstract 2
Study in pink
Exhibit 3


Abstract 3
Study in pink and yellow
Where I will go from here is take my favourite crop and see if I can re-create it onto a larger format.
What fun!!